How to register for BiPS Tokens
How to register for BiPS Tokens

Congratulations — you’ve decided to join the revolution, register with BiPS and start the process of acquiring your Tokens.
So the next question I guess is “How do I do register?”
Simply follow the 2 Step process below and we’ll get you up and running.
Step 1 — Create your account
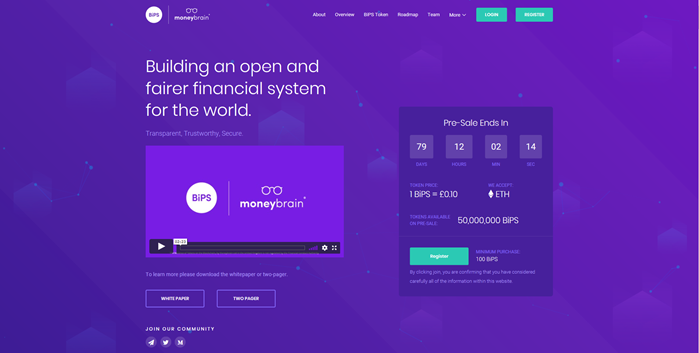
If you’ve not already done so, follow this link to the BiPS website. Review the information on the pages, grab a drink and some popcorn and watch the video and when you’re ready, select the ‘Register’ button on the home page.
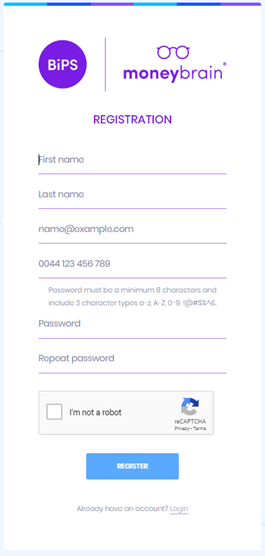
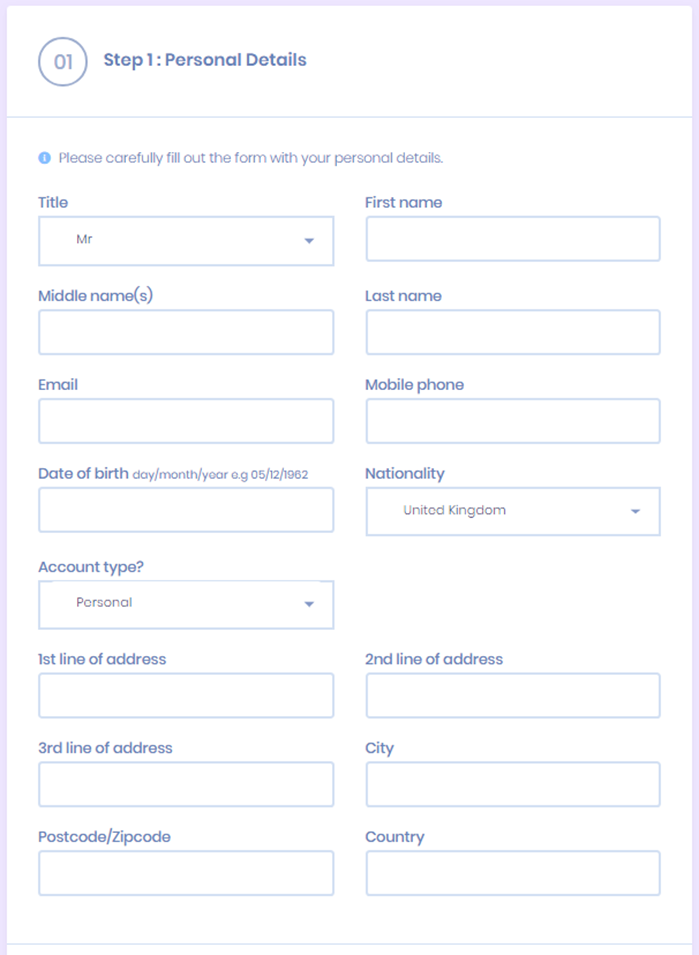
The registration pages will ask you to enter your personal information, create a user name and your password.
When selecting your password, it’s really important that you follow the guidance on the page.
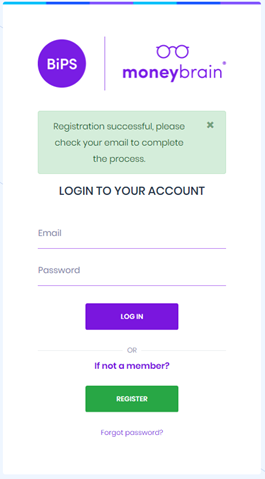
Once completed you’ll receive the confirmation in the login box, advising your registration has been successful and the verification of your email address is required.
We do this is to ensure that you’ve entered the information correctly and that you are the owner of the email address.
Check the email account that you provided during the registration process and follow the link within the message.


Once verified, you’ll receive a further confirmation in the login box.
The first step of registration is now completed.
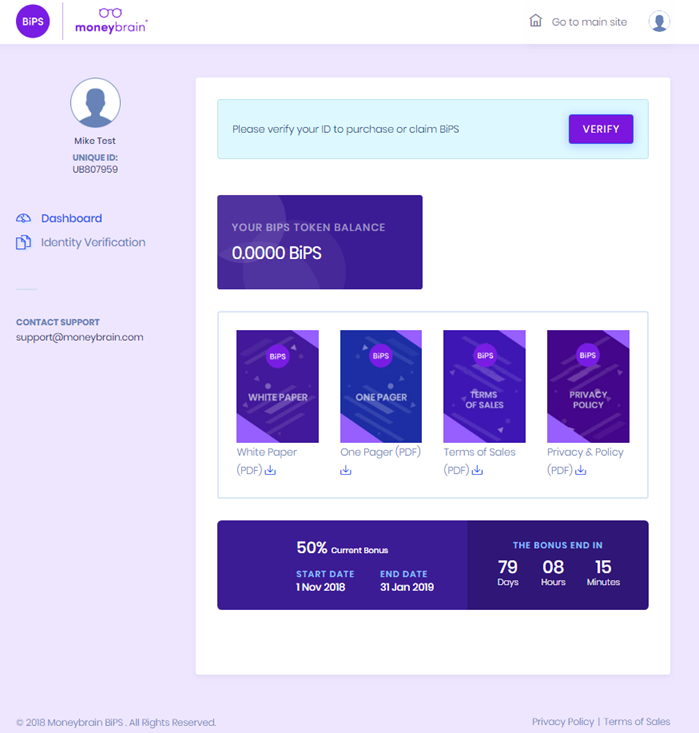
You can login to your dashboard.
Step 2 — Identity Confirmation
The next step is to identify yourself with either your Passport, Drivers Licence or Government Issued Identification or Citizen Card.
Again, this is a really straight forward process.
Firstly, log in to your dashboard via the portal and select the ‘Identity Verification’ link on the left of the screen.
Check that your home territory is not in the list on the screen. If it is, we will not be able to process your request for an account at this time.

Next ‘click to proceed’ and enter the required personal data into the fields in Step 1
Then move to Step 2.
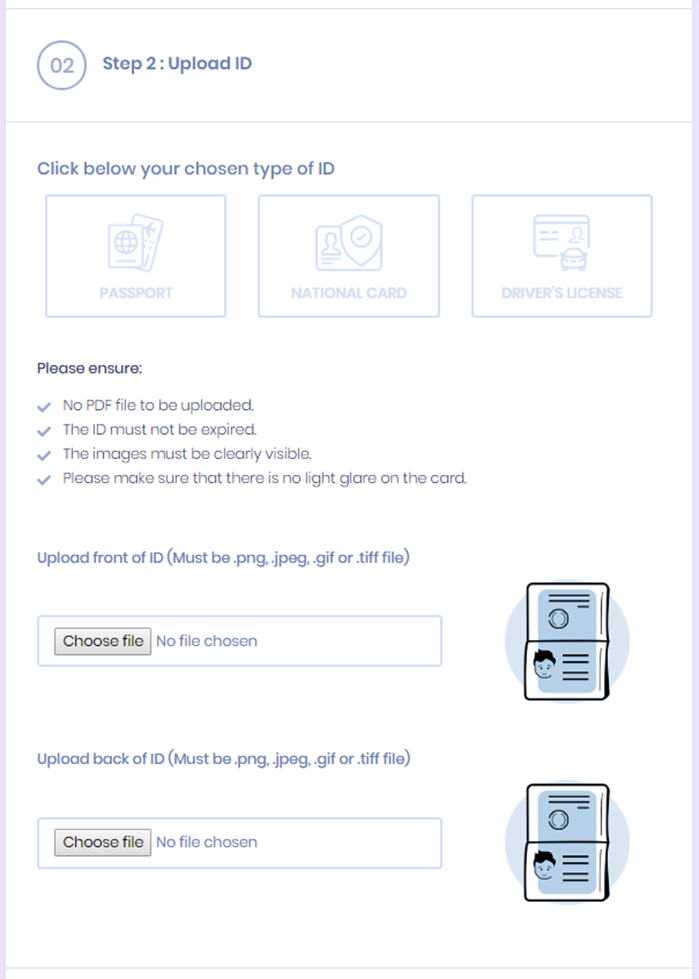
At this point you are required to take a photograph or provide an upload of your chosen identity document.
The format of this document is important (.png, .jpeg, .gif and .tiff), as is the size (5 mb maximum). The upload/photo will be either a single image of the front of the document or we will request both sides. Take the photograph on a lat surface rather than holding the document and in a well lit environment.
Passport — Take an image of the Photo page only. When the 2 pages are used it degrades the image leading to a negative software response.
Drivers Licence and ID Card — Get all of the card into the image as this will ensure the software returns an accurate and positive response.
Once completed, ‘Submit’ your details.
Our software will complete the required verification checks of your personal information and the documents provide. Once completed you will receive confirmation. Generally, this process will take no more than 60 minutes. If you have submitted your enquiry outside of normal UK business hours it will be actioned on the next business day.
Welcome to the revolution!
That’s it. You’re now registered. The next stage is to submit your request for your BiPS. We will explain the process for this in the next article.
In the meantime you can keep in touch with news and developments using the following media:
Twitter — @MoneyBrainBiPS
Telegram — BiPS Community
Medium — BiPSBlog
By Bitcointalk :https://bitcointalk.org/index.php?action=profile;u=905364
ETH: 0x9aBc8b8a8AAA9d4Bb4c1E797e1Ed2Edf39A7124e


Komentar
Posting Komentar